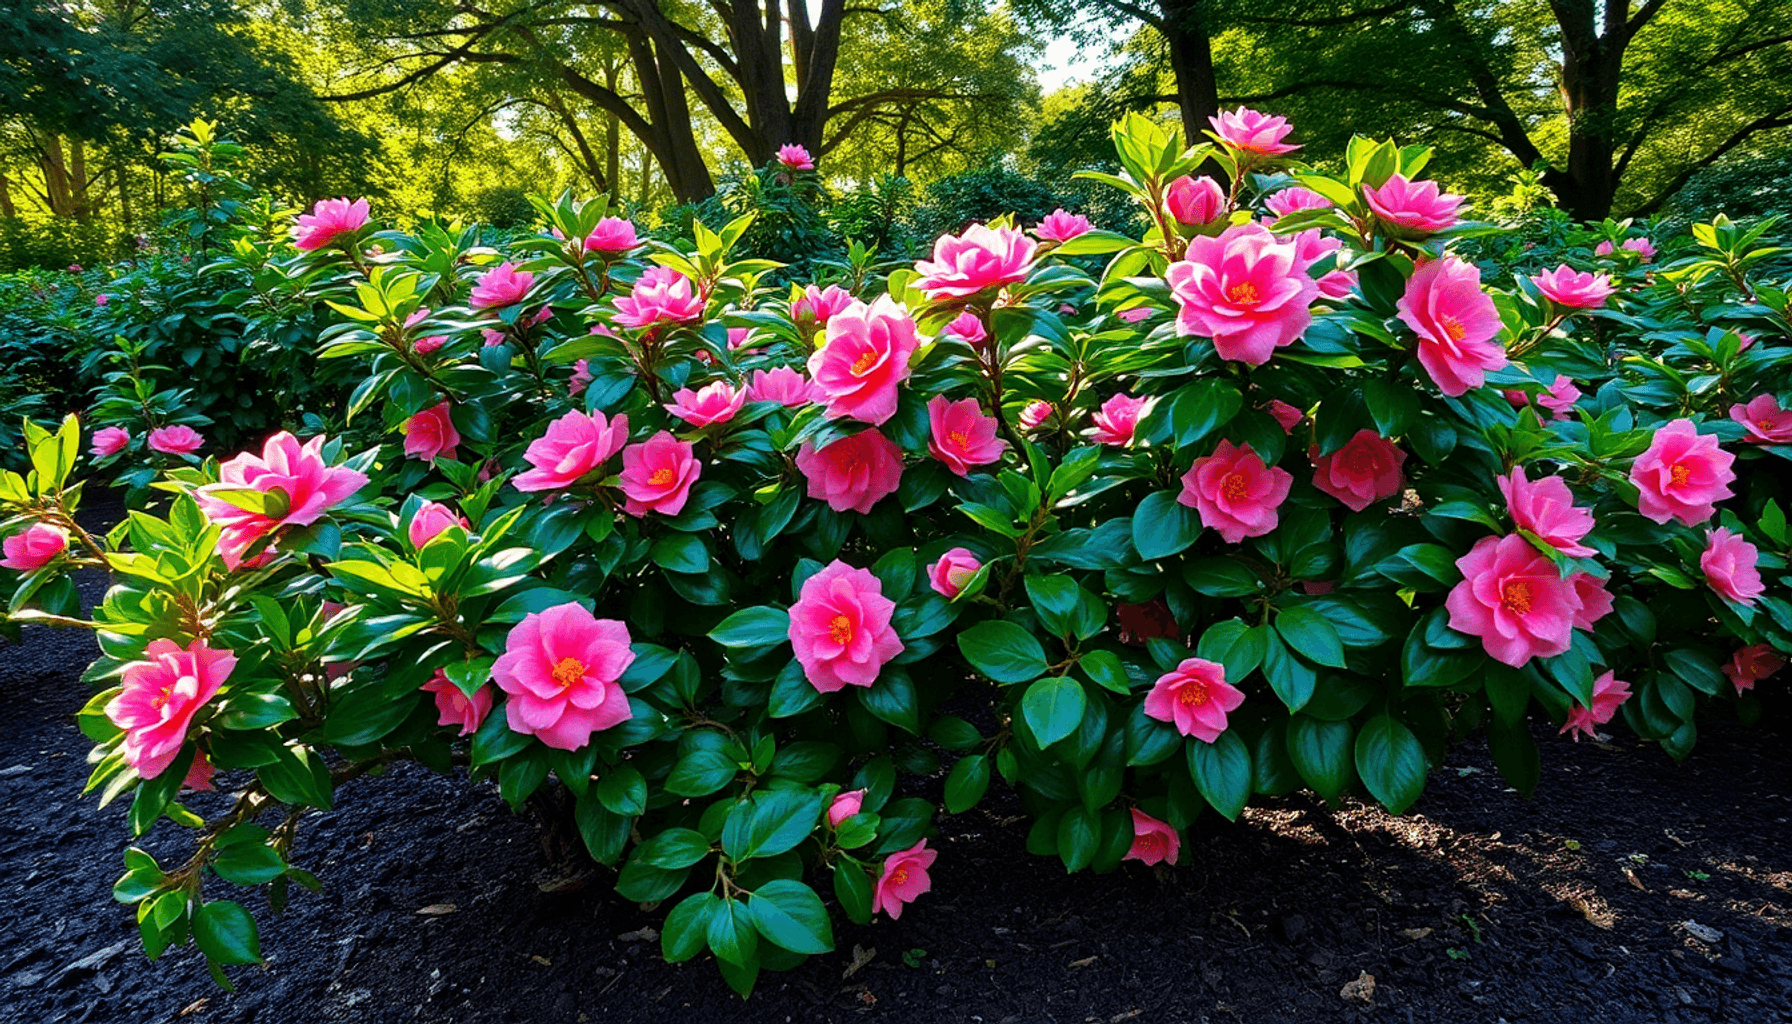

Camellias are one of the most popular flowering shrubs loved by gardeners for their beautiful flowers and evergreen leaves. These graceful blooms, available in shades from soft whites to rich reds and pinks, bring vibrant colors and textures to gardens during the colder months.
Camellias offer incredible value to your outdoor area:
- Long-lasting flowers that brighten up winter and early spring
- Flexible growth patterns suitable for hedges, individual plants, or pots
- Evergreen leaves that provide interest throughout the year
To fully appreciate camellias' beauty, it's crucial to learn how to grow them and understand the basics of camellia care. This includes using proper planting methods and providing attentive maintenance, which together guarantee robust plants that produce plentiful flowers season after season.
This guide will walk you through the key steps for growing camellias successfully in your garden.
Understanding Camellias
Camellia plants are prized for their elegant blooms and glossy, evergreen foliage. Their general characteristics include:
- Evergreen shrubs or small trees that can range from compact forms to specimens reaching 20 feet or more in height.
- Leaves that are thick, leathery, and dark green with a shiny surface, adding year-round interest even when not in flower.
- Flowers varying widely in size, shape, and color—commonly white, pink, red, or variegated—with petals ranging from single to fully double formations.
Growth Habits
Understanding camellia growth habits helps you plan their placement and care. These shrubs prefer acidic soil, typically with a pH between 5.5 and 6.5, which supports nutrient uptake essential for healthy foliage and abundant blooms. Soils rich in organic matter mimic their natural woodland habitat.
Camellias flourish best in partial shade, where they receive filtered sunlight or dappled light during the day. Full sun exposure can scorch their leaves and cause flower buds to drop prematurely, while deep shade reduces flowering vigor.
The typical flowering season occurs from autumn through early spring, depending on the variety. Some camellias bloom as early as October, while others may continue into March or April. Their growth patterns show a period of active shoot extension during warmer months balanced by slower development in cooler seasons.
Flower buds form on last year’s wood, so recognizing these growth cycles informs proper pruning timing to avoid cutting off potential blossoms. Camellias develop a dense branching habit over time, which can be shaped with careful pruning to maintain airflow and overall plant health.
This understanding of camellia plant characteristics and growth habits sets the foundation for selecting the right location and providing suitable care for thriving plants.
Choosing the Right Location for Planting
Selecting the best location for camellias is crucial to ensure they thrive and produce abundant, vibrant flowers. Camellias perform best in a site that offers protection from harsh environmental elements.
Importance of a Sheltered Spot
- Camellias benefit greatly from being planted in a sheltered spot. This means choosing a location shielded from strong winds, which can damage delicate leaves and flower buds.
- Protection from frost is another key factor. A sheltered area reduces the risk of frost damage during colder months, helping your camellia maintain healthy growth.
Benefits of Dappled or Partial Shade
- The ideal planting site for camellias includes dappled or partial shade. This mimics their natural woodland habitat where sunlight filters through tree canopies.
- Gardening in shade prevents leaf scorch and keeps flowers from wilting prematurely.
- Light levels should be enough to encourage flower bud formation but gentle enough to avoid stressing the plant.
Avoiding Direct Sunlight
- Exposure to direct sunlight, especially intense afternoon sun, can cause leaf burn and reduce flower longevity.
- Plants placed in full sun often develop scorched leaves or faded blooms.
- If you notice signs of sun damage, consider relocating your camellia or adding shade cloth during the hottest part of the day.
Camellia sun exposure balance is essential — too much shade may limit flowering, while too much sun causes stress. Aim for spots with morning sun and afternoon shade or consistent filtered light through taller plants or structures.
Choosing the correct location sets a solid foundation for all other care practices like soil preparation and watering, ensuring your camellias grow healthy and beautiful.
Preparing the Soil
Successful camellia growth starts with meeting their specific soil requirements for camellias. These shrubs thrive in soil that retains moisture without becoming waterlogged. Ensuring moist but well-drained soil is essential to prevent root rot and encourage healthy root development.
Camellias prefer a slightly acidic soil for camellias, ideally with a pH level between 5.5 and 6.5. This acidity closely resembles the conditions favored by azaleas and rhododendrons, making these plants good indicators of suitable soil types. Acidic soil enhances nutrient availability, supporting vibrant foliage and abundant blooms.
When it comes to soil preparation camellias require, incorporating organic matter gently into the planting area makes a significant difference. Adding compost, leaf mold, or well-rotted manure improves soil texture, boosts nutrient content, and promotes moisture retention without compromising drainage.
Key steps for preparing the soil before planting:
- Test soil pH: Use a simple home test kit to confirm acidity levels. Amend with elemental sulfur or pine needle mulch if the pH is too high.
- Loosen the soil: Dig the planting hole twice as wide as the root ball but no deeper than its height to encourage outward root growth.
- Mix in organic matter: Blend in compost or leaf mold with native soil in a 1:1 ratio to create a rich, crumbly planting medium.
- Avoid compacting: Handle the amended soil gently to maintain aeration around roots.
Following these guidelines on how to grow camellias by preparing their ideal soil environment sets your plants up for strong establishment and long-term success.
Best Time to Plant Camellias
Knowing when to plant camellias is crucial for ensuring they establish well and grow vigorously. The ideal window for autumn planting camellias falls in early to mid-autumn. This period offers several advantages that directly influence the health and development of your camellia plants.
Advantages of Autumn Planting
- Warm Soil Temperatures: During early autumn, the soil remains warm from summer heat. This warmth encourages root activity and growth. Roots expand more easily in warm soil, allowing the plant to anchor itself solidly before facing colder temperatures.
- Moist Soil Conditions: Autumn typically brings increased rainfall and higher humidity levels compared to summer months. Moist soil prevents stress on newly planted camellias and supports steady hydration during the critical establishment phase.
- Avoiding Heat Stress: Planting camellias in autumn avoids the intense heat of summer, which can cause transplant shock or dry out new roots. Cooler air temperatures also reduce evaporation and water loss.
- Root Development Before Winter Dormancy: Root growth continues into late autumn, giving camellias a head start before entering winter dormancy. A well-established root system increases the plant's resilience to cold weather and helps it burst into growth come spring.
Timing Factors to Consider
Consider these timing factors when planning your planting season for camellias:
- Soil Temperature Threshold: Aim to plant when soil temperatures are consistently above 10°C (50°F). This ensures active root development.
- Frost Risk: Complete planting before the first heavy frost arrives to prevent damage to tender roots.
- Local Climate Variations: Adjust planting times based on your regional climate; warmer zones may allow later planting, while cooler areas benefit from earlier autumn planting.
- Preparation Time: Allow a few weeks after planting for roots to settle before colder winter conditions set in.
Selecting the right planting season maximizes your camellias’ chances of thriving by aligning with their natural growth cycle and environmental needs.
Watering Requirements and Maintenance Tips
Proper watering camellias is crucial for their health and vibrant blooms. These plants demand consistent moisture but are sensitive to waterlogged conditions, which can lead to root rot and other issues.
Understanding Camellia's Moisture Needs
Camellias thrive when the soil remains evenly moist. The key is maintaining a balance—too little water stresses the plant and reduces flowering, while too much saturates the soil, suffocating roots.
Factors Influencing Watering Frequency
After planting
Newly planted camellias require more frequent watering to help establish their root systems. Water deeply at least twice a week during the first month.
Dry spells
During hot or dry weather, increase irrigation to prevent the soil from drying out. Use mulch around the base to help retain moisture.
Established plants
Once established, camellias generally need watering once a week, adjusting for rainfall and temperature fluctuations.
Best Practices for Irrigation
Irrigation for camellia plants works best with slow, deep watering methods such as drip irrigation or soaker hoses. This encourages roots to grow deeper into the soil rather than staying near the surface.
Fungal Disease Prevention Measures
Avoid overhead watering directly on leaves and flowers to reduce risks of fungal diseases.
Soil Moisture Check Technique
Regularly check soil moisture by inserting your finger about 2 inches deep; if it feels dry at this depth, it’s time to water.
Pay attention to seasonal changes and adjust your watering routine accordingly. A consistent approach ensures that camellias receive adequate hydration without risking damage from excess water.
Light, Shade Management, Fertilizing, and Pruning Techniques for Healthy Growth
Camellias have specific light requirements that influence their flowering and overall health. They thrive when protected from harsh, direct sunlight but still receive enough filtered light to promote flower bud formation. Excessive sun exposure can scorch leaves and fade blooms, while too little light may result in sparse flowering.
Managing Light and Shade for Camellias
- Shading camellia plants is essential in regions with intense afternoon sun. Use natural shade from taller trees or install shade cloths that provide dappled sunlight.
- Morning sun combined with afternoon shade works well to balance light needs.
- Avoid planting camellias in deep shade as this limits photosynthesis and reduces vigor.
Fertilizing Camellias
Feeding camellias properly supports strong growth and abundant flowers. Choose a fertilizer designed for acid-loving plants such as azaleas and rhododendrons.
- Apply a balanced fertilizer (e.g., 10-10-10 NPK) formulated specifically for acidophilic plants.
- Fertilize twice per year: once in early spring before new growth starts, and again after flowering to replenish nutrients.
- Avoid excessive nitrogen, which encourages leaf growth at the expense of blooms.
- Organic options like composted pine bark or cottonseed meal can also improve soil acidity and nutrient content.
Pruning Techniques for Camellias
Pruning helps maintain shape, remove dead or damaged wood, and stimulate healthy growth.
- Perform pruning right after flowering finishes but before late summer to avoid cutting off next season’s flower buds.
- Focus on thinning crowded branches to improve air circulation within the plant.
- Remove any weak or crossing stems to reduce disease risk.
- Light shaping cuts encourage bushier growth without sacrificing bloom production.
Applying these techniques will help you master how to grow camellias that are vibrant, resilient, and floriferous throughout the seasons.
Common Problems, Troubleshooting, and Additional Resources for Camellia Care Success
Camellias are relatively hardy, but you may encounter some common issues with camellias that can affect their health and appearance. Recognizing these problems early helps you take appropriate action and keep your plants thriving.
Common Pests
- Aphids: These tiny insects cluster on new growth, sucking sap and causing leaf distortion. You might notice a sticky residue called honeydew on leaves.
- Scale Insects: Scale appears as small, shell-like bumps on stems and leaves. Heavy infestations weaken the plant by draining nutrients.
- Spider Mites: Particularly in dry conditions, spider mites cause fine webbing and stippled or yellowing leaves.
- Tea Scale: A specialized scale insect that targets camellias, causing yellowing and leaf drop if untreated.
Common Diseases
- Camellia Leaf Gall: This fungal disease causes thickened, fleshy leaves that can turn white or pink. Removing affected leaves promptly limits spread.
- Petal Blight: A fungal infection that discolors flowers with brown spots and causes rapid petal decay during wet weather.
- Root Rot (Phytophthora): Poor drainage can lead to this serious condition. Symptoms include wilting, yellowing leaves, and dieback.
Troubleshooting Tips
- Yellow Leaves: Often caused by iron chlorosis due to alkaline soil or poor drainage. Applying chelated iron or improving soil acidity helps.
- Poor Flowering: Insufficient light or over-fertilizing with nitrogen-rich fertilizers can reduce blooms. Adjust shade levels and use balanced acid-loving plant fertilizers.
- Leaf Drop: Sudden changes in watering or temperature stress the plant. Maintain consistent moisture without waterlogging.
Additional Resources
To deepen your understanding of camellia care and problem-solving:
- Local cooperative extension services often provide region-specific advice.
- Specialized gardening books like The Camellia Handbook offer detailed insights.
- Online forums such as the American Camellia Society’s website allow you to connect with experienced growers.
These resources complement your hands-on experience by providing targeted support for any challenges you face with your camellias.
Conclusion
Growing camellias successfully depends on understanding their specific needs and providing consistent care. Applying these successful camellia growing tips will help you enjoy vibrant, healthy plants that enhance your garden’s beauty.
Keep in mind the essentials:
- Choose a sheltered location with partial shade to protect delicate blooms and leaves.
- Prepare soil that is moist, well-drained, and slightly acidic, enriched with organic matter.
- Plant camellias in early to mid-autumn to give roots time to establish before winter.
- Maintain consistent moisture without waterlogging, especially after planting and during dry spells.
- Manage light carefully—enough for flower bud formation but shielded from harsh sun.
- Apply balanced fertilizers designed for acid-loving plants and prune thoughtfully to encourage growth.
“How to Grow Camellias” successfully is about patience, attention, and following these key steps. Your effort rewards you with stunning flowers and lush foliage that make camellias a cherished part of any garden.
Start with these guidelines, observe your plants closely, and adjust care as needed. Thriving camellias reflect the dedication you put into nurturing them.
FAQs (Frequently Asked Questions)
What are the basic characteristics and growth habits of camellias?
Camellias are popular flowering shrubs known for their beautiful blooms and value in gardens. They prefer acidic soil and partial shade, typically flowering during specific seasons while exhibiting steady growth patterns.
How do I choose the ideal location for planting camellias?
Select a sheltered spot that offers dappled or partial shade to protect camellia flowers and leaves from harsh sunlight. Avoid direct sun exposure to prevent damage and ensure healthy growth.
What soil conditions are best for growing camellias?
Camellias thrive in moist but well-drained soil that is slightly acidic and organically rich, similar to soils favored by azaleas and rhododendrons. Incorporate organic matter gently into the soil before planting for optimal results.
When is the best time to plant camellias for successful growth?
Early to mid-autumn is ideal for planting camellias as warm and moist soil conditions during this time aid root establishment before winter, promoting vigorous growth in the following seasons.
How should I water and maintain my camellia plants?
Maintain consistent moisture levels without waterlogging. Water camellias regularly after planting and during dry spells to meet their moisture needs while ensuring proper drainage.
What light, fertilizing, and pruning practices support healthy camellia growth?
Balance protection from harsh sunlight with sufficient light to encourage flower bud formation. Use balanced fertilizers formulated for acid-loving plants, and apply appropriate pruning techniques to maintain plant health and shape.