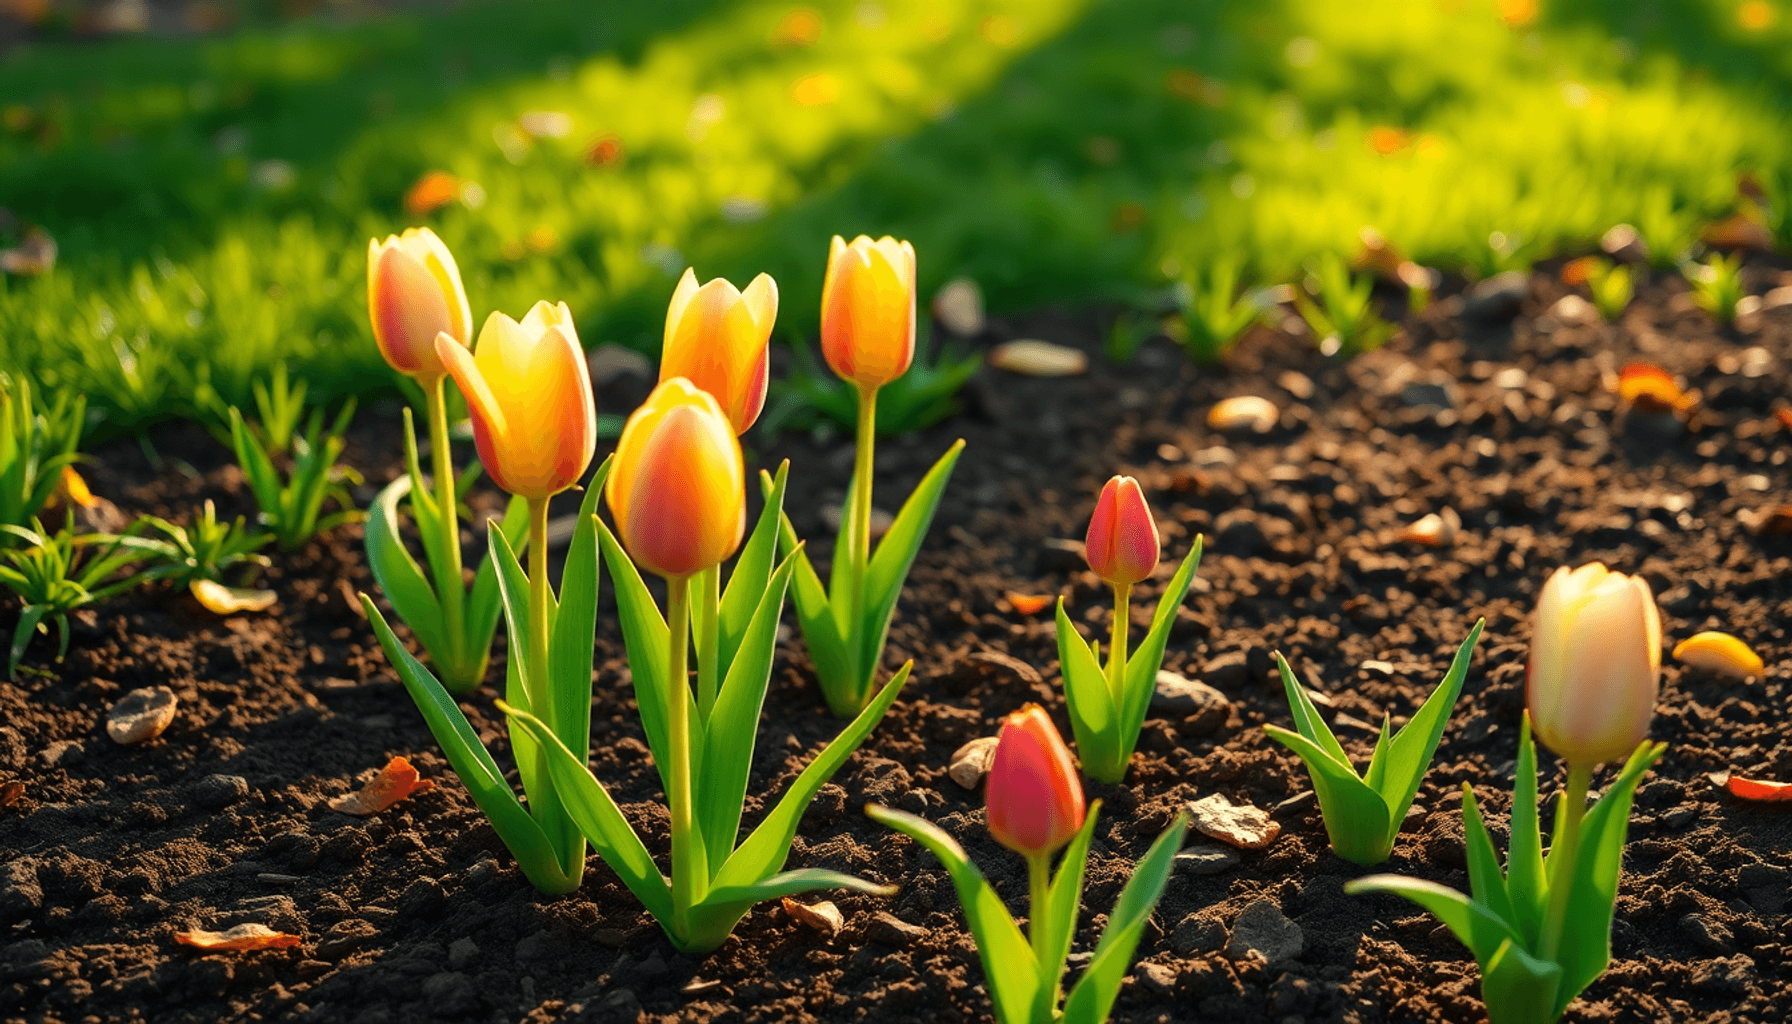

Knowing when to plant tulip bulbs is crucial for achieving healthy growth and vibrant blooms in your garden. Tulips depend on precise timing to establish strong roots and undergo necessary dormancy before flowering. Planting too early or too late can impact the bulb’s ability to thrive, resulting in weak or delayed blooms.
The tulip planting season generally falls in autumn, a time when soil temperatures begin to cool but before the ground freezes. This period allows bulbs to settle and prepare for winter conditions. Several factors influence the best tulip bulb timing, including local climate, soil temperature, and regional weather patterns.
Key points about timing:
- Plant bulbs after soil temperature drops below 60°F (15°C)
- Ideal planting months typically range from September through December
- Regional variations affect exact timing — for example, gardeners in the UK often plant between October and November
Understanding these basics will help you plan your tulip planting effectively, setting the stage for a colorful spring display that thrives year after year.
Understanding Tulip Bulbs and Their Growth Cycle
Tulip bulbs have a specific growth cycle that is important for producing healthy plants and colorful flowers. Understanding this cycle will help you know when to plant and how to take care of the bulbs.
The Life Cycle of Tulip Bulbs
- Dormant phase: Tulip bulbs spend most of the year in dormancy, a resting period where visible growth stops.
- Root development: Once planted in autumn, bulbs begin to establish roots before winter arrives.
- Shoot emergence: After experiencing cold temperatures, shoots appear in spring, leading to flowering.
- Flowering: Blooming happens once the plant has absorbed enough energy stored during root growth and dormancy.
- Leaf dieback: After flowering, leaves gradually wither away, sending nutrients back to the bulb for next year's cycle.
Importance of Cold Dormancy for Blooming
The dormancy period of tulips is not just a time of rest—it is an important phase triggered by cold temperatures. During this period:
- The bulbs need to be in a cold environment between 35-45°F (1.5-7°C).
- This chilling period should last around 10-12 weeks.
This exposure to cold activates processes inside the bulb that prepare it to wake up from dormancy and bloom when warmer weather arrives. If tulips do not get enough cold exposure, they may not flower or produce weak blooms.
Significance of Root Establishment Before Winter
Root development is crucial right after planting. When soil temperatures drop below 60°F (15°C), bulbs direct their energy towards growing strong roots instead of shoots. This early root growth secures the bulb firmly in the soil and allows it to absorb nutrients and moisture efficiently throughout winter.
If roots do not establish properly before freezing conditions occur, tulip growth can be stunted or unsuccessful in spring.
The Role of Temperature in Growth Processes
Temperature plays a key role in each stage of the tulip bulb lifecycle:
- Warm soil (above 60°F/15°C) at planting time delays root growth.
- Cooling soil signals that root development is starting.
- Cold dormancy triggers biochemical readiness for flowering.
- Rising spring temperatures prompt shoots to emerge and blooms to open.
By understanding these temperature thresholds, you can determine the best time to plant and anticipate how well bulbs will grow based on your local climate.
Knowing how tulips go through their growth stages lays the groundwork for effective planting strategies discussed next.
Optimal Timing for Planting Tulip Bulbs
Choosing the best time to plant tulips revolves primarily around the natural cycle of the bulbs and soil conditions. The autumn planting tulips window, generally from September to December, aligns perfectly with these needs.
Why Autumn Is Ideal for Planting Tulips
- Tulip bulbs require a period of cool soil temperatures to initiate root growth before winter dormancy sets in.
- Planting in autumn allows roots to establish deeply, giving bulbs a strong foundation for spring growth.
- Bulbs planted too early may sprout prematurely, risking frost damage. Planting too late can result in shallow root systems and weak blooms.
Soil Temperature for Tulips: The Critical Factor
- Soil temperature dropping below 60°F (15°C) signals that it’s time to plant.
- Warmer soil delays root development and can cause bulbs to rot or fail to bloom.
- Measuring soil temperature at a depth of about 6 inches provides the most accurate indication of readiness.
Regional Considerations: The UK Example
- In the UK, the ideal planting timeframe often narrows down to October and November due to its temperate climate.
- This period reliably offers soil temperatures under 60°F (15°C), ensuring proper root establishment.
- Gardeners in milder regions might need to adjust planting earlier or later depending on seasonal fluctuations.
Paying close attention to soil temperature for tulips and regional climate patterns ensures you plant bulbs when conditions are most favorable. This timing is key to healthy root development and vibrant spring flowers.
Preparing for Planting Tulip Bulbs
Successful tulip growth starts with preparing soil for tulips that meets their specific needs. Tulip bulbs thrive best in well-draining, nutrient-rich soil. Heavy, waterlogged soils increase the risk of bulb rot and fungal diseases. Ensuring the soil drains efficiently helps maintain moisture without saturation.
Soil Conditions for Tulip Bulbs
- Drainage: Sandy loam or loamy soil types work well, allowing excess water to escape while retaining enough moisture for root development.
- Nutrients: Tulips benefit from a balanced supply of nutrients. Incorporate organic matter such as compost or well-rotted manure into the planting area to enrich the soil.
- pH Level: Aim for slightly acidic to neutral soil, around pH 6 to 7, which suits most tulip varieties.
Sun Exposure for Tulips
Tulips demand full sun to produce vibrant flowers and strong stems. Choose a location that receives at least 6 hours of direct sunlight daily. Shaded areas can lead to weaker growth and fewer blooms.
Soil Preparation Tips
- Clear the Area: Remove weeds, rocks, and debris from the planting bed to reduce competition and obstacles to root growth.
- Loosen the Soil: Dig or till the ground to a depth of about 8-10 inches (20-25 cm) to aerate the soil and facilitate root penetration.
- Add Organic Matter: Mix in a generous layer of compost or aged manure to improve fertility and soil texture.
- Test Drainage: After preparation, check how quickly water drains by watering the area and observing if puddles form or soil stays soggy.
- Adjust pH if Needed: Use garden lime to raise pH or sulfur to lower it based on your soil test results.
When preparing your garden for spring, remember that when to plant tulip bulbs depends not only on timing but also this careful preparation phase. This ensures bulbs have an ideal environment for root establishment before winter dormancy sets in, supporting healthier shoots and more robust flowering in springtime.
Proper Planting Techniques
Planting tulip bulbs correctly is essential to ensure strong root development and vibrant blooms. Understanding how to plant tulip bulbs involves paying close attention to planting depth, bulb orientation, and spacing.
Planting Depth for Tulips
- Bulbs should be planted 2 to 3 times their height deep in the soil, as recommended in this detailed guide on tulip planting depth.
- This usually translates to about 5 to 7 inches (12 to 18 cm) beneath the soil surface.
- Planting too shallow can expose bulbs to temperature fluctuations and frost damage.
- Planting too deep may delay or inhibit sprouting in spring.
Positioning the Bulbs
- Always place tulip bulbs with the pointed end facing upwards.
- The pointed tip is where the shoot will emerge.
- The flat or rounded base is where roots grow downward.
- Incorrect orientation can result in poor or failed sprouting.
Spacing Tulip Bulbs
- Space bulbs at least twice their width apart.
- Adequate spacing prevents overcrowding, which can limit airflow and increase disease risk.
- Proper spacing allows each plant enough room for root expansion and healthy growth.
- For example, if a bulb is 2 inches wide, plant them at least 4 inches apart.
Planting with correct depth, proper orientation, and sufficient spacing sets the foundation for strong tulip growth. These techniques help your bulbs establish well before winter and prepare for a spectacular spring display.
Post-Planting Care and Maintenance
Proper care after planting tulip bulbs plays a crucial role in ensuring healthy growth and vibrant blooms come spring. Watering tulip bulbs after planting is one of the first steps you must not overlook.
Watering
- Deep watering immediately after planting helps settle the soil around the bulbs and encourages root growth. This initial soak promotes strong root establishment before winter sets in.
- Maintaining moist but well-drained soil is key throughout the dormancy period. Excess water can cause bulb rot, so avoid soggy conditions by planting in well-draining soil and checking moisture levels regularly.
Pest Protection
- Tulip bulbs are vulnerable to pests such as voles that tunnel underground and damage them. Protecting tulip bulbs with wire mesh cages or bulb guards placed around the root zone creates a physical barrier against these rodents.
- Emerging shoots often attract deer and rabbits looking for an early spring snack. To guard your tulips, install fencing or plant deterrents around your garden beds. This protection ensures young shoots survive to maturity and bloom fully.
Keeping these practices consistent supports the bulbs through their dormant phase, setting the stage for successful flowering when temperatures rise again.
Tulip Bulbs in Different Climates
Tulips need a specific period of cold dormancy to bloom properly. This involves keeping the bulbs at temperatures between 35-45°F (1.5-7°C) for 10-12 weeks. This chilling phase triggers important changes inside the bulb, which are necessary for flower development. If the cold dormancy requirements are not met, tulips may not bloom or may produce weak flowers.
Challenges of Growing Tulips in Warm Climates
Growing tulips in warm climates can be difficult because natural winter temperatures usually don't get cold enough. To solve this problem, gardeners use a method called pre-chilling tulip bulbs:
- Place the bulbs in a paper bag or breathable container.
- Store them in a refrigerator (not freezer) at 35-45°F (1.5-7°C).
- Chill the bulbs for about 10-12 weeks before planting them outdoors.
This process simulates winter conditions and allows the bulbs to grow properly even when local winters are mild.
Importance of Adapting Planting Schedule
It is important to adjust your planting schedule based on the climate in your area:
- In colder regions where frosts occur early, plant the bulbs as soon as the soil temperature drops below 60°F (15°C).
- In areas with mild winters, you can plant pre-chilled bulbs later, usually in late fall or early winter.
- Some gardeners in warmer regions choose to plant bulbs indoors in pots after pre-chilling and then move them outside once shoots appear and weather permits.
Understanding the climate of your region will help you determine the best time to plant tulips. If you live in a place where winters are too warm for natural dormancy, it becomes crucial to pre-chill tulip bulbs in order to enjoy vibrant blooms in spring. By adjusting your planting dates and methods accordingly, you can ensure that your tulips receive the cold exposure they need to thrive despite warmer conditions.
Annual vs Perennial Tulips: What Gardeners Should Know About Tulips Varieties
Tulips are often categorized into two main groups based on their growth habits: annuals and perennials. Understanding the difference between these can help you manage your garden expectations and maintenance routines.
Why Many Gardeners Treat Tulips as Annuals
There are several reasons why many gardeners choose to treat tulips as annuals rather than perennials:
- Climate Challenges: In many regions, tulips struggle to reliably perennialize because of fluctuating winter temperatures, excessive moisture, or poor soil conditions. These factors can weaken bulbs, reducing their ability to bloom again.
- Bulb Fatigue: Tulip bulbs tend to expend significant energy producing one spectacular bloom season. Without intervention, subsequent years may see smaller flowers or no blooms.
- Practical Approach: Many gardeners choose to plant fresh bulbs each autumn to guarantee vibrant spring displays rather than relying on natural perennialization.
Perennial Tulips Varieties That Are More Likely to Reflower
Certain tulip varieties have been bred or selected for better longevity and reflowering potential in the garden:
- Darwin Hybrid Tulips: Known for their robust stems and large flowers, these tulips have a stronger tendency to come back year after year.
- Emperor Tulips: These are tall with sturdy blooms and good resistance to weather stress, making them reliable perennials.
- Triumph Tulips: A popular group that balances flower variety with durability; they tend to have better bulb regeneration capacity.
These reflowering varieties of tulips combine beauty with a higher chance of perennial success if cared for properly.
Benefits of Lifting and Storing Bulbs After Flowering
To improve the chances of tulips blooming again in subsequent seasons, many gardeners lift bulbs after the foliage has died back:
- Prevents Rot and Disease: Removing bulbs from wet or cold soil reduces risk factors that cause decay.
- Controlled Storage Conditions: Bulbs stored in cool, dry places maintain dormancy without sprouting prematurely.
- Selective Replanting: You can inspect bulbs for health and discard any that are damaged or diseased before replanting in autumn.
- Enhanced Bloom Quality: Properly stored bulbs often produce stronger roots and more vigorous shoots when replanted.
Taking this extra step turns many annual growers into successful perennial gardeners by extending the life cycle of their tulip bulbs.
Understanding whether your garden conditions favor treating tulips as annuals or investing time in nurturing perennial tulips varieties helps you decide how best to enjoy these classic spring flowers each year.
Tips for Ensuring Successful Tulip Blooms Year After Year
Maintaining vibrant tulip blooms each spring requires attention to key care practices after flowering. These steps help bulbs store energy for the next season and protect them during dormancy.
Deadheading Tulips
- Remove spent flowers promptly by cutting the flower stem just above the foliage.
- This prevents the plant from wasting energy on seed production.
- Focus on preserving leaf health, which is crucial for bulb nourishment.
Leaf Care After Blooming
- Allow leaves to remain intact and die back naturally over several weeks.
- Leaves continue photosynthesis, sending nutrients down to the bulb.
- Avoid cutting or tying leaves prematurely; doing so can weaken the bulb and reduce next year’s bloom size.
- Once leaves turn yellow and become limp, they can be safely removed.
Lifting and Storing Tulip Bulbs
In climates where tulips may struggle to perennialize, lifting bulbs after foliage dies back improves chances for reflowering.
1. Lifting Bulbs
- Gently dig around each bulb with a garden fork or trowel.
- Avoid damaging roots or scales on the bulb surface.
- Lift bulbs carefully and shake off excess soil.
2. Cleaning Bulbs
- Brush off remaining soil; do not wash with water as moisture can promote rot.
- Inspect bulbs for any signs of disease or damage; discard soft or moldy bulbs.
3. Drying Bulbs
Place bulbs in a cool, dry, well-ventilated area for 1 to 2 weeks. This curing process reduces moisture content and prepares bulbs for storage.
4. Storing Bulbs
Store in mesh bags, paper bags, or cardboard boxes lined with dry peat moss or sawdust. Keep bulbs at temperatures between 50-60°F (10-15°C) in a dark place like a basement or garage. Avoid airtight containers that trap moisture and cause rot.
Adhering to these practices—deadheading tulips, caring for leaves post-bloom, and properly storing tulip bulbs—ensures that your tulips have sufficient energy reserves. This makes it more likely they will produce strong shoots and lush flowers year after year without needing to replant every season.
Conclusion
Successful tulip gardening relies on knowing when to plant tulip bulbs and following the best practices for planting tulips that are suitable for your climate and chosen varieties. Each region has its own challenges, such as soil temperature and winter severity, which affect root development and bloom quality.
Remember these tips for vibrant spring blooms:
- Plant bulbs during the ideal time—usually in autumn when soil temperatures drop below 60°F (15°C).
- Select varieties that are suited to your climate or use methods like pre-chilling in warmer areas.
- Prepare the soil properly with good drainage and nutrients, and place bulbs correctly at the recommended depths.
- Take care of the plants after planting by watering, protecting against pests, and managing foliage after flowering.
- In climates where it is difficult for bulbs to grow back each year, consider lifting and storing them to improve results in the future.
By following these specific guidelines, you can turn tulip gardening from a once-a-year task into a continuous success. Your hard work will be rewarded with bright, healthy blooms that beautify any garden setting year after year. Use this knowledge as a starting point and make adjustments as you gain experience—your stunning displays of tulips depend on it.
FAQs (Frequently Asked Questions)
When is the best time to plant tulip bulbs for vibrant spring blooms?
The optimal time to plant tulip bulbs is during autumn, specifically from September to December, when soil temperatures drop below 60°F (15°C). This timing allows roots to establish before winter dormancy and ensures healthy growth and vibrant blooms in spring. Regional variations exist, such as the UK’s ideal planting window of October to November.
Why is cold dormancy important for tulip bulb growth and how does it affect planting?
Tulip bulbs require a cold dormancy period at temperatures between 35-45°F (1.5-7°C) for about 10-12 weeks to trigger blooming. This cold period helps break dormancy and promotes proper root development. In warmer climates where natural cold periods are insufficient, pre-chilling bulbs in refrigerators before planting can simulate this requirement and improve flowering success.
What soil conditions and preparation are essential for planting tulip bulbs?
Tulips thrive in well-draining, nutrient-rich soil with full sun exposure. Before planting, prepare the soil by loosening it and incorporating organic matter to enhance fertility and drainage. Proper soil conditions prevent bulb rot and support robust root growth, which are critical for healthy tulip development.
How deep and spaced should tulip bulbs be planted for optimal growth?
Plant tulip bulbs at a depth of 2-3 times their height, typically 5-7 inches deep, with the pointed end facing upwards. Spacing bulbs adequately prevents overcrowding; generally, spacing them 4-6 inches apart promotes healthy growth by allowing sufficient air circulation and nutrient access.
What post-planting care is necessary to protect tulip bulbs and encourage strong root growth?
After planting, deep watering is crucial to settle the soil around the bulbs and initiate root growth. Maintain moist but well-drained soil to prevent rot. Protect bulbs from pests such as voles by using wire mesh barriers, and guard emerging shoots from deer and rabbits with appropriate fencing to ensure successful blooming.
How can gardeners ensure successful tulip blooms year after year?
To encourage perennial blooming, gardeners should deadhead spent flowers promptly to conserve bulb energy, allow leaves to die back naturally for nutrient replenishment, and properly lift and store bulbs during the off-season in cool, dry conditions. Selecting perennial varieties like Darwin Hybrid or Triumph also improves chances of reflowering across seasons.