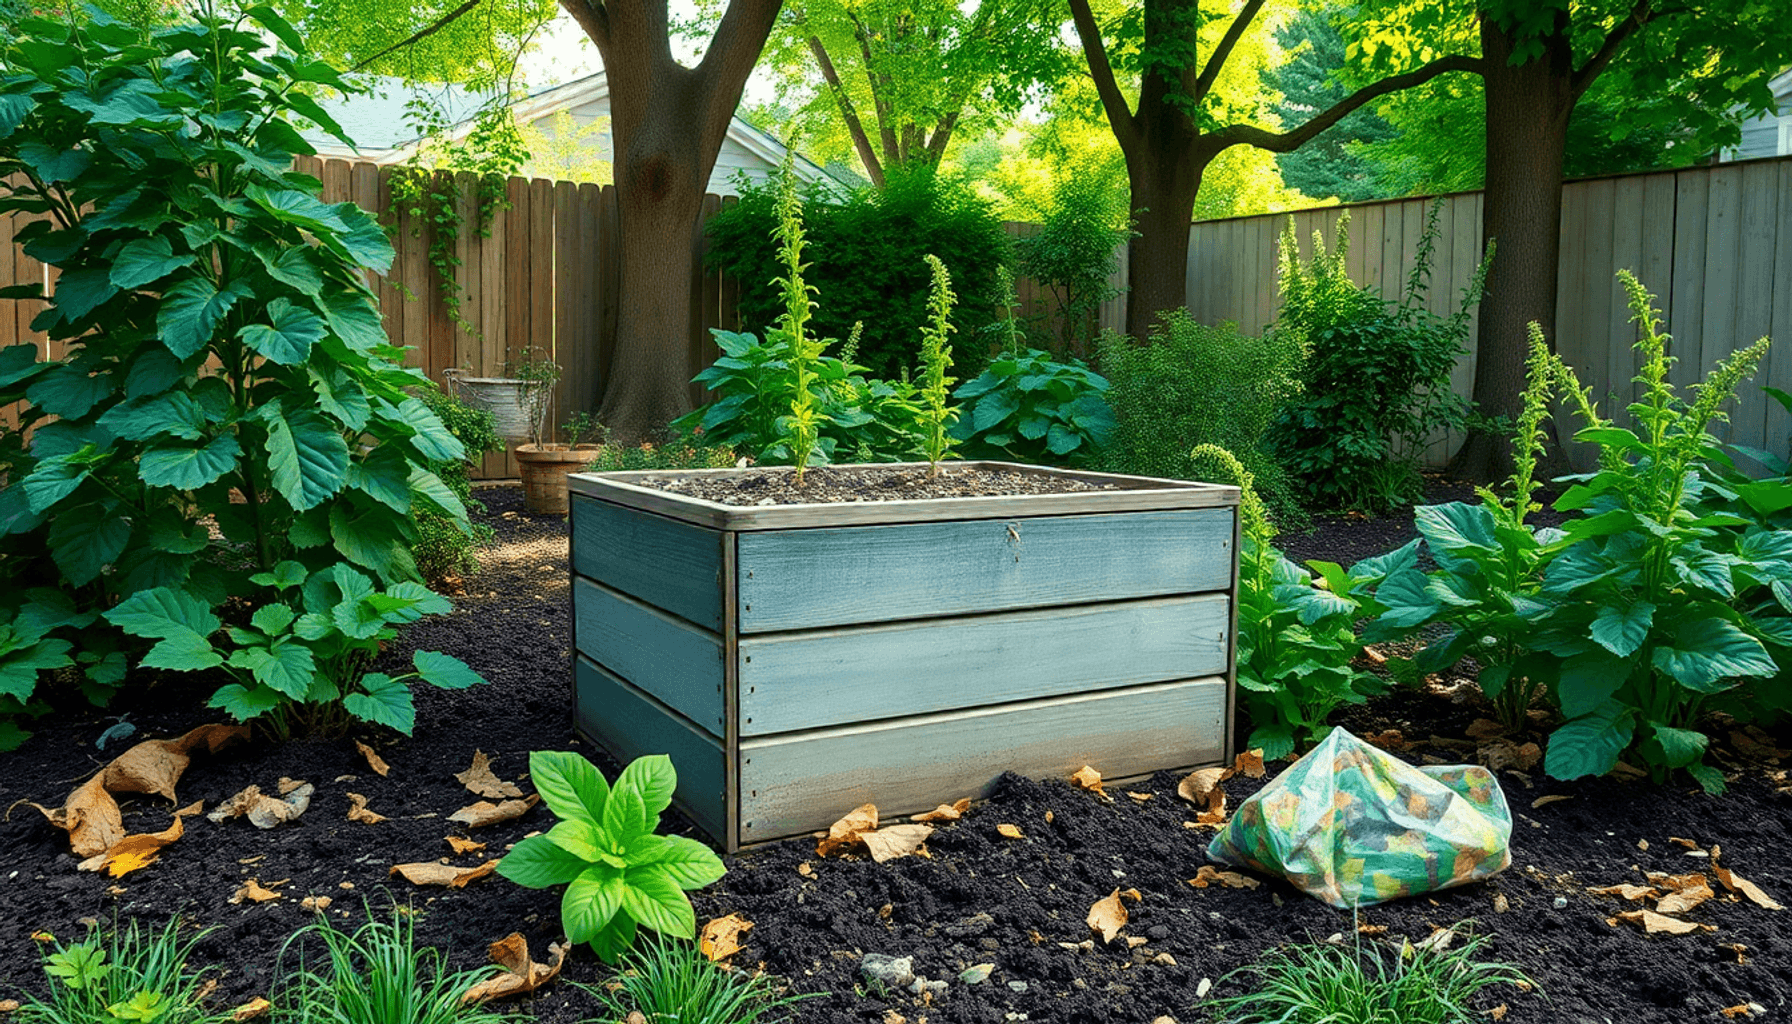

Starting a compost bin is a practical way to turn organic waste into nutrient-rich soil that revitalizes your garden. A compost bin provides a controlled environment where kitchen scraps, yard waste, and other biodegradable materials break down naturally through the activity of microorganisms. This process not only enriches garden soil but also supports sustainability efforts by reducing the amount of waste sent to landfills.
When you learn how to start a compost bin, you'll find the process involves several straightforward steps:
- Selecting the right location: Choose a spot with good air circulation and some sunlight to encourage decomposition.
- Gathering materials: Collect a balanced mix of carbon-rich "browns" (like dried leaves) and nitrogen-rich "greens" (such as vegetable scraps).
- Maintaining the pile: Regularly turn and monitor moisture levels to keep the microorganisms active and healthy.
Understanding these composting basics helps you create an efficient system that converts waste into valuable fertilizer.
The benefits of composting extend beyond your garden. By diverting organic matter from landfills, you reduce methane emissions—a potent greenhouse gas—and lessen the burden on waste management systems. Composting also cuts down your need for chemical fertilizers, saving money while improving the health and structure of your soil.
Embracing composting is an easy step toward eco-friendly gardening that rewards you with richer soil and a smaller environmental footprint.
Understanding Composting and Its Benefits
Composting is the natural process of breaking down organic materials—such as food scraps, leaves, and grass clippings—into a nutrient-rich soil amendment known as compost. This transformation occurs through aerobic decomposition, meaning it requires oxygen. Microorganisms like bacteria and fungi feed on the organic matter, breaking it down into simpler compounds while releasing heat. Proper airflow in your compost bin supports these microbes, accelerating the breakdown and preventing unpleasant odors.
Environmental Advantages of Composting
- Reduces landfill waste: Organic waste makes up a significant portion of household trash. Composting diverts this material from landfills where it would otherwise generate methane, a potent greenhouse gas.
- Promotes biodiversity: Healthy compost enriches soil with nutrients that support diverse microbial life, earthworms, and beneficial insects—all vital to a balanced ecosystem. In fact, soil biodiversity plays a crucial role in maintaining the health of our environment.
- Mitigates climate change: By cutting down methane emissions and reducing the need for synthetic fertilizers (which require fossil fuels to produce), composting contributes to lowering your carbon footprint.
- Conserves resources: Compost helps retain soil moisture, reducing water usage in gardens and landscapes.
How Compost Enhances Soil and Plant Health
Nutrient-rich compost improves garden soil in several practical ways:
- Enhances soil structure: Compost adds organic matter that binds soil particles into aggregates. This creates better aeration and drainage in heavy clay soils while improving water retention in sandy soils.
- Boosts fertility: It supplies essential nutrients like nitrogen, phosphorus, and potassium slowly over time, supporting sustained plant growth without harmful chemical runoff.
- Increases moisture retention: Organic matter holds water effectively, helping plants withstand dry spells by keeping roots hydrated longer.
- Encourages healthy root development: Loose, crumbly soil allows roots to spread easily and access nutrients efficiently.
- Improves crop yields: Gardens amended with compost consistently produce more robust plants with higher resistance to pests and diseases.
The benefits of using homemade compost extend beyond just plant growth. It supports sustainable gardening by recycling waste into a valuable resource that nurtures your garden naturally. Knowing how composting works ensures you can optimize these advantages when starting your own compost bin.
Choosing the Right Location for Your Compost Bin
Selecting an optimal compost bin location is crucial for efficient decomposition and maintaining a healthy compost pile. Two factors stand out: airflow for compost and sunlight for compost bin. Both directly influence microbial activity, moisture levels, and temperature inside the bin.
Importance of Air Circulation
Composting relies on aerobic decomposition, which means oxygen must reach the microbes breaking down organic material. A spot with good airflow ensures:
- Faster breakdown of materials due to oxygen-rich conditions.
- Reduced odor problems, as stagnant air can cause anaerobic bacteria to produce unpleasant smells.
- Prevention of excess moisture buildup that leads to soggy, compacted piles.
Keep your compost bin at least 2 feet away from fences, walls, or large structures. This spacing promotes unrestricted air movement around the bin. Positioning the bin where two or more sides are open to air circulation helps maintain ideal conditions.
Role of Sunlight Exposure
Sunlight isn’t just about warmth; it helps regulate moisture and temperature within the bin:
- Aim for 3 to 4 hours of direct sunlight daily. Morning sun is especially beneficial because it dries overnight dew and prevents excess dampness.
- Sunlight warms the pile, accelerating microbial activity and speeding up decomposition.
Too much direct sun all day can dry out your compost too quickly, so partial shade during hotter afternoons provides a balance.
Additional Guidelines for Choosing Location
Consider these practical aspects when placing your compost bin:
- Drainage: Select a spot with good drainage to prevent waterlogging after rain. Avoid low-lying areas where water pools.
- Proximity to Garden: Place the bin near your garden or planting beds for easy access when adding finished compost.
- Accessibility: Ensure you can easily reach the bin for turning materials and harvesting finished compost.
- Ground Surface: A bare soil spot works best since worms and microbes can migrate naturally into the pile. Avoid concrete or paved surfaces that block this beneficial interaction.
“Choosing a well-ventilated site with moderate sun exposure sets the stage for a thriving compost system.”
Selecting the Ideal Compost Bin
Choosing the right compost bin is crucial when learning how to start a compost bin effectively. The bin you pick directly influences how well your organic materials break down, how much space you need, and how much effort is required for maintenance.
Types of Compost Bins
1. Traditional Stationary Bins
These bins are usually square or rectangular containers made from plastic, wood, or metal. They sit on the ground and rely on natural decomposition with manual turning.
Pros: Affordable, simple design, can hold large volumes.
Cons: May require more effort to turn and aerate; less convenient to access finished compost at the bottom.
2. Compost Tumblers
Cylindrical bins mounted on a frame that allows you to rotate the entire container easily. Tumblers speed up composting by mixing materials regularly.
Pros: Faster decomposition due to easy turning; contained system reduces pests; neat appearance.
Cons: Limited capacity—usually smaller than stationary bins; can be heavy when full; may require more frequent filling.
3. Worm Farms (Vermicomposting)
Specialized bins designed for keeping composting worms that consume organic waste rapidly indoors or outdoors. These systems produce nutrient-rich worm castings.
Pros: Excellent for small spaces and kitchen scraps; faster breakdown of waste; low odor if managed properly.
Cons: Requires monitoring worm health and bedding conditions; not suitable for all types of yard waste.
4. DIY Bins
Built from pallets, wire mesh, or repurposed containers with added ventilation holes to ensure airflow. Customizable to fit specific garden needs.
Pros: Cost-effective; customizable size and shape; promotes good aeration with proper design.
Cons: Requires some DIY skills; may not be as weatherproof as commercial options.
Ventilated Compost Bins
Airflow is essential for aerobic decomposition—the process that prevents foul odors and speeds up composting. Most quality compost bins include:
- Built-in ventilation holes or slats on multiple sides.
- Open bottoms or mesh bases to allow beneficial soil organisms to enter and assist in breaking down material.
Choosing ventilated compost bins helps maintain oxygen flow without sacrificing moisture retention.
Best Compost Bin Size
Size depends on your available space and the amount of organic waste generated:
- A volume around 1 cubic yard (3’x3’x3’) is ideal for maintaining heat and microbial activity efficiently in most backyard setups. This size supports active decomposition without becoming unmanageable.
- Smaller bins (30–50 gallons) suit apartment balconies or small yards but may require more frequent turning and attention.
- Larger bins or multiple bins are beneficial if you have extensive garden waste or want continuous compost batches at different stages.
Consider your household size, garden area, and typical waste output when deciding on size:
| Household Size | Recommended Bin Size | Notes |
| 1–2 people | 30–50 gallons | Suitable for kitchen scraps only |
| Small family | ~1 cubic yard (200+ gallons) | Works well for mixed kitchen + yard waste |
| Large family/gardeners | Multiple 1 cubic yard bins or larger | Allows batch processing |
Choosing Based on Waste Volume
Estimate your weekly volume of food scraps, lawn clippings, leaves, and other compostables before selecting a bin:
- If you generate lots of green waste during certain seasons (spring/summer), having larger capacity or additional bins helps avoid overflow.
- For mostly kitchen scraps year-round, compact tumblers or worm farms offer convenience without taking much space.
Selecting a bin that fits your lifestyle encourages consistent use and better results in your composting journey.
Gathering and Preparing Compost Materials
A successful compost pile depends on the right balance between carbon-rich materials (known as browns) and nitrogen-rich materials (called greens). This balance fuels the microbial activity necessary for efficient decomposition.
Why Balance Matters
- Carbon acts as an energy source for microbes.
- Nitrogen supports protein synthesis and cell growth.
- An ideal ratio of browns to greens is about 2:1 by volume, which promotes a healthy, active compost pile.
Too much carbon slows down decomposition because microbes lack nitrogen to grow. Too much nitrogen creates excess moisture and odors, potentially attracting pests.
Examples of Browns (Carbon-Rich Materials)
- Dry leaves
- Straw or hay
- Shredded paper or cardboard (avoid glossy types)
- Small branches or twigs
- Sawdust or wood chips (untreated)
These materials are typically dry and fibrous, providing structure and airflow within the pile.
Examples of Greens (Nitrogen-Rich Materials)
- Fruit and vegetable scraps
- Coffee grounds and tea bags
- Fresh grass clippings
- Green plant trimmings
- Manure from herbivorous animals
Greens tend to be moist and rich in nitrogen, accelerating the breakdown process.
What to Avoid Adding
Certain items can disrupt your compost pile or cause problems:
- Meat, dairy, oils, and fats attract rodents and slow decomposition.
- Diseased plants might spread pathogens.
- Pet waste can introduce harmful bacteria.
Preparing Materials for Composting
Cut or shred larger items like branches, corn stalks, or thick stems before adding them. Smaller pieces decompose faster because they have more surface area exposed to microbes.
Collect kitchen scraps in a small container with a lid to keep flies away before transferring them regularly into your compost bin. Keeping a mix of browns and greens nearby makes layering easier when building your pile.
Maintaining this carbon-to-nitrogen balance ensures that your compost heats up properly, breaks down evenly, and produces nutrient-rich soil amendment efficiently.
Building Your Compost Pile Step-by-Step
Creating a well-structured compost pile relies heavily on layering compost pile materials correctly. This layering is essential to promote oxygenation in compost and maintain the right moisture in compost pile, both critical for efficient decomposition.
Step 1: Prepare a Base Layer
Start by laying down a 4-6 inch layer of coarse, carbon-rich materials such as twigs, small branches, or wood chips. This base acts like a natural drainage system, allowing excess moisture to drain while providing air pockets that encourage airflow.
Step 2: Alternate Greens and Browns
Add your next layers by alternating between nitrogen-rich "greens" (like kitchen scraps or fresh grass clippings) and carbon-rich "browns" (such as dried leaves or shredded paper). Aim for about a 2:1 ratio of browns to greens.
- Green layers: Provide nitrogen needed for microbial growth.
- Brown layers: Supply carbon which fuels microbes and helps absorb moisture.
Each layer should be about 2-4 inches thick. Avoid piling large clumps of greens tightly together, as this restricts air flow and can lead to anaerobic spots that smell unpleasant.
Step 3: Monitor Moisture Levels
The pile should feel like a damp sponge—moist but not soggy. Too much water suffocates beneficial microbes by limiting oxygen access; too little slows decomposition dramatically.
If the pile feels dry, sprinkle water lightly between layers or use moist green materials. If it’s overly wet, add extra brown materials to soak up excess moisture and increase aeration.
Step 4: Build Height and Maintain Airflow
Aim for a total pile height of around 3 feet (about one cubic yard). This size retains heat generated by microbial activity while preventing compaction.
Keep the sides loose rather than compacting them to allow air circulation throughout the pile. Good oxygenation is vital because composting is an aerobic process; microbes need air to break down organic matter efficiently.
Step 5: Cover the Pile
A cover helps regulate moisture by protecting against heavy rain while reducing evaporation on hot days. Use a tarp, old carpet, or compost bin lid—something breathable that won’t trap too much humidity inside.
Layering your compost pile with these steps ensures balanced moisture retention and sufficient airflow. These conditions create an ideal environment for microorganisms to thrive and speed up the transformation of organic waste into rich, fertile compost.
Maintaining Your Compost Bin for Optimal Results
Maintaining your compost bin is crucial to keep the decomposition process active and efficient. One of the most important tasks is turning your compost pile regularly. This practice introduces oxygen into the mix, which aerobic microbes need to break down organic matter quickly and evenly. Without sufficient aeration, your pile can become compacted, slowing decomposition and producing unpleasant odors.
Why Turning Compost Pile Matters
- Aeration: Microorganisms responsible for decomposition require oxygen. Turning the pile ensures fresh air circulates throughout, preventing anaerobic conditions that cause foul smells.
- Even Breakdown: Mixing materials redistributes moisture and heat, allowing all parts of the pile to decompose at a similar rate.
- Pest Prevention: Regular agitation discourages pests by disrupting their habitat within the compost.
Aim to turn your compost every 1 to 2 weeks using a garden fork or compost aerator tool. If you notice strong odors or slow breakdown, more frequent turning can help restore balance.
Managing Moisture Levels in Your Compost Bin
Moisture is another key factor for effective composting. The ideal consistency resembles a wrung-out sponge—damp but not soaking wet. Watering your compost bin occasionally may be necessary, especially during dry periods.
Tips for watering compost:
- Spray water gently over the pile rather than dumping large amounts at once.
- Monitor moisture by squeezing handfuls of material; adjust watering accordingly.
- Avoid overwatering as excess moisture creates anaerobic conditions and attracts unwanted pests like rodents or flies.
If your pile becomes too wet:
- Add dry carbon-rich materials such as shredded leaves, straw, or cardboard to absorb excess liquid.
- Turn the pile more often to improve airflow and promote drying.
Odor Control in Composting
Odors typically signal an imbalance in your compost bin’s environment. Common causes include too much nitrogen-rich green material, insufficient aeration, or excessive moisture.
To control odors:
- Maintain a proper balance between "browns" (carbon) and "greens" (nitrogen), aiming for roughly 2 parts browns to 1 part greens.
- Turn the pile regularly to supply oxygen and distribute materials evenly.
- Manage moisture to prevent soggy conditions that lead to smell problems.
If persistent odors occur despite these efforts, inspect your pile for non-compostable items such as meat scraps or dairy products that should be removed immediately.
Mastering these maintenance techniques will keep your compost bin healthy and productive, setting you up for rich, nutrient-dense soil amendments ready to boost your garden’s vitality.
Understanding the Composting Timeframe
The time it takes for compost to decompose can vary widely depending on several factors, with temperature being one of the most important. Microbial activity in compost is greatly influenced by heat, moisture, and oxygen levels. These microbes are responsible for breaking down organic matter into nutrient-rich compost.
Seasonal Temperature Effects
1. Warm Seasons
During spring and summer, higher temperatures speed up microbial metabolism. This accelerates the breakdown process, often reducing compost decomposition time to as little as 2 to 4 months in ideal conditions.
2. Cold Seasons
In fall and winter, cooler temperatures significantly slow down microbial activity. The compost pile may enter a dormant phase where decomposition nearly comes to a standstill until warmth returns. Backyard composters often experience slower progress during this time, extending the process by several months.
3. Temperature Fluctuations
Daily temperature changes can also impact microbes. Sudden cold snaps or heatwaves may temporarily stress microbial communities but generally won't stop decomposition if other conditions remain favorable.
Indicators of When Compost Is Ready
To know when your compost is ready to use, look for these signs instead of relying solely on a specific timeline:
- Dark brown or black color resembling rich soil
- Crumbly texture without recognizable food scraps or leaves
- Earthy smell free from ammonia or rotten odors
- Reduction in volume by about half compared to original materials
Microbial Activity in Compost
For optimal microbial activity, it's important to maintain a balanced environment:
- Moisture should feel like a wrung-out sponge—enough to sustain microbes but not so wet that oxygen is excluded.
- Frequent turning introduces fresh oxygen, maintaining aerobic conditions necessary for beneficial bacteria and fungi.
- Carbon-to-nitrogen ratio influences microbial population dynamics; imbalances can slow activity.
Patience is key during colder months when microbial activity naturally decreases. Adjust your expectations accordingly and continue regular care practices to ensure your compost pile stays healthy throughout the year.
Harvesting and Using Your Finished Compost
Knowing when to start harvesting finished compost is essential to maximize its benefits for garden soil improvement. Your homemade fertilizer is ready when it has transformed into a dark, crumbly, and earthy-smelling material. It should no longer resemble the original organic scraps you added. The texture will be similar to rich soil, free from recognizable food bits or leaves.
Signs your compost is ready:
- Uniform dark color throughout the pile
- Cool temperature compared to active composting phases (no heat generated)
- Crumbly texture that breaks apart easily in your hands
- Earthy smell without any sharp odors like ammonia or rot
If some parts of your pile look unfinished or contain larger pieces, sift those materials out and return them to the bin for further decomposition.
Harvesting Tips
Use a garden fork or shovel to remove compost from the bottom or side of the bin where fully decomposed material tends to collect. Avoid disturbing newer layers on top that are still breaking down. Store harvested compost in a breathable container or pile it in a shaded spot if you’re not applying it immediately.
Applying Homemade Compost
Your finished compost works as an excellent soil amendment that improves structure, fertility, and moisture retention in garden beds and potted plants. You can:
- Mix with garden soil: Incorporate 1–2 inches of compost into the top 6–8 inches of soil before planting. This boosts nutrient content and encourages beneficial microbial activity.
- Top dress established plants: Spread a thin layer around vegetable patches, flower beds, or shrubs to nourish roots gradually.
- Potting mix addition: Blend about 20–30% finished compost into potting soils for container gardening to enhance aeration and water-holding capacity.
Applying homemade compost regularly reduces your need for synthetic fertilizers while promoting healthier plant growth. It supports robust root systems by improving soil porosity and providing essential nutrients like nitrogen, phosphorus, and potassium in natural forms.
Efficient use of your finished compost translates directly into improved plant vigor, better disease resistance, and increased crop yields — all critical factors for sustainable gardening success.
Alternative Method: Vermicomposting Basics
Vermicomposting offers a practical alternative to traditional compost bins, especially if you're limited on outdoor space or want faster results. This method relies on worm composting bins, where specific types of worms—commonly red wigglers (Eisenia fetida)—consume organic waste and convert it into nutrient-rich castings.
What Is Vermicomposting?
Here are the key aspects of vermicomposting:
- Worms eat food scraps, breaking down materials much quicker than regular microbial decomposition.
- The process is aerobic, requiring oxygen, which worms help maintain by moving through the bedding.
- Vermicomposting works indoors or outdoors, making it versatile for apartments, balconies, or small yards.
Setting Up a Worm Composting Bin
You can purchase ready-made worm bins or build your own following a simple vermicomposting guide:
- Container: Choose a shallow bin with ventilation holes to allow airflow and moisture control.
- Bedding: Use shredded newspaper, cardboard, coconut coir, or peat moss to create a comfortable environment that retains moisture.
- Worms: Red wigglers are the best choice because they thrive in confined spaces and consume lots of organic matter.
- Food Waste: Add fruit and vegetable scraps, coffee grounds, tea bags, crushed eggshells; avoid meat, dairy, oily foods, and citrus in large amounts.
- Maintenance: Keep the bin moist but not soggy; feed worms regularly but avoid overfeeding; harvest castings every few months.
Benefits of Worm Composting
Here are some advantages of vermicomposting:
- Speeds up decomposition compared to traditional piles – you can get finished compost in 2 to 3 months.
- Produces highly concentrated fertilizer rich in beneficial microbes and nutrients.
- Odor is minimal when properly maintained since worms rapidly process waste.
- Compact size makes vermicomposting suitable for urban gardeners or anyone interested in how to start a compost bin indoors.
This approach complements traditional composting by offering an accessible option for those with less outdoor space or who want continuous kitchen waste recycling year-round.
Conclusion
Starting a compost bin is one of the most effective ways to reduce waste at home while enriching your garden soil naturally. By choosing to start home composting, you take a significant step toward sustainable gardening practices that benefit both your plants and the environment.
Consider these key advantages:
- Environmental Impact: Composting diverts organic waste from landfills, lowering methane emissions and contributing to climate change mitigation.
- Soil Health: Nutrient-rich compost improves soil structure, enhances moisture retention, and supports beneficial microorganisms for healthier, more productive plants.
- Cost Savings: Reducing reliance on chemical fertilizers saves money and promotes a safer garden ecosystem.
Every small effort counts. Whether you have a spacious backyard or limited space for vermicomposting indoors, adopting these sustainable gardening tips can make a measurable difference.
“The journey of a thousand miles begins with a single step.”
Now is the perfect time to apply what you’ve learned about how to start a compost bin. Gather your materials, select your spot, and build your compost pile. Your garden—and the planet—will thank you.
Take action today: commit to creating your own home composter and watch the cycle of nature work its magic right in your backyard.
FAQs (Frequently Asked Questions)
What is a compost bin and why is it important for garden soil and sustainability?
A compost bin is a container or designated area where organic waste decomposes into nutrient-rich compost. It plays a crucial role in improving garden soil health by enhancing fertility and moisture retention, while also promoting sustainability by reducing landfill waste and lowering the need for chemical fertilizers.
How do I start a compost bin at home?
To start a compost bin, select an ideal location with good airflow and sunlight, gather a balanced mix of carbon-rich (browns) and nitrogen-rich (greens) materials, such as kitchen scraps and yard waste, then layer these materials properly. Maintain the pile by regularly turning it to ensure aeration and monitoring moisture levels to promote efficient decomposition.
What are the environmental benefits of composting?
Composting reduces landfill waste, lowers greenhouse gas emissions, promotes biodiversity by enriching soil ecosystems, mitigates climate change impacts, and supports sustainable gardening practices by providing natural fertilizer that improves soil structure and plant health.
How do I choose the right location for my compost bin?
Choose a spot in your yard that offers good air circulation and adequate sunlight exposure to facilitate aerobic decomposition. Ensure the area has proper drainage to prevent waterlogging and is conveniently located near your garden for easy access when applying finished compost.
What types of compost bins are available, and how do I select the ideal one?
Common compost bin types include tumblers, worm farms (vermicomposting), and traditional stationary bins. Consider factors like available space, expected volume of organic waste, ease of turning or aeration, ventilation features, and whether you prefer indoor or outdoor composting when selecting the best size and type for your needs.
When is my compost ready to use, and how should I apply it to my garden?
Compost is ready when it appears dark, crumbly, and earthy-smelling without recognizable food scraps. The decomposition timeframe varies with temperature and maintenance but typically takes several months. Apply finished compost as a natural fertilizer by mixing it into garden soil or using it as mulch around plants to improve soil fertility and moisture retention.